
I’ve been using WordPress since 2009 or so. I even wrote an essay about it because I love working in it so much.
For over ten years, I built sites, made edits to config files, and tweaked PHP files using the method of downloading them via FTP and reuploading them. I handled any plugin or theme updates from the WordPress dashboard. There’s nothing inherently wrong with that system, except that it can be a tad slow.
Then I discovered the joy of using the CLI (command-line interface).
For a long time, I rarely opened up the terminal on my Mac at all. If I found a solution to a problem in some Mac forum that required it, I would get in and get out as quickly as I could. I just felt like the GUI existed for a reason. Somebody built this thing so we didn’t need to use the CLI, right?
Recently, I’ve been studying Linux (several distros) quite a bit, which has given me the opportunity to muck about in the CLI. Many times I would set up a new system on my old 2007-era Macbook just to mess with it. I had no valuable files on it and I didn’t care if I had to start all over again. So I could screw up something using a command in Bash and it was only a learning experience.
Then I started using the terminal on my newer MacBook Pro more frequently. In fact, it’s now open all the time, usually with several windows at once. On one I’ll be connected via ssh to my Raspberry pi, and on another, I’ll be logged into a server on my web host (DreamHost). It really is a lot of fun once you get used to the commands.
I also recently discovered WP CLI, the method for maintaining your WordPress website using Bash. Once I’m logged into my server, I just navigate to the website folder I want to work on and start making stuff happen.
Most often I’ve been using wp plugin list and wp theme list to check for updates. Today, I needed to make some changes to the functions.php and footer.php files on one of my sites. Since I was logged into my server anyway, I figured I may as well try editing them right where I was.
First, I used Nano to open the file, which you can see in the screenshot at the beginning of this post. That worked fine, and I successfully edited both files as I needed. Then I tried using the VIM editor:
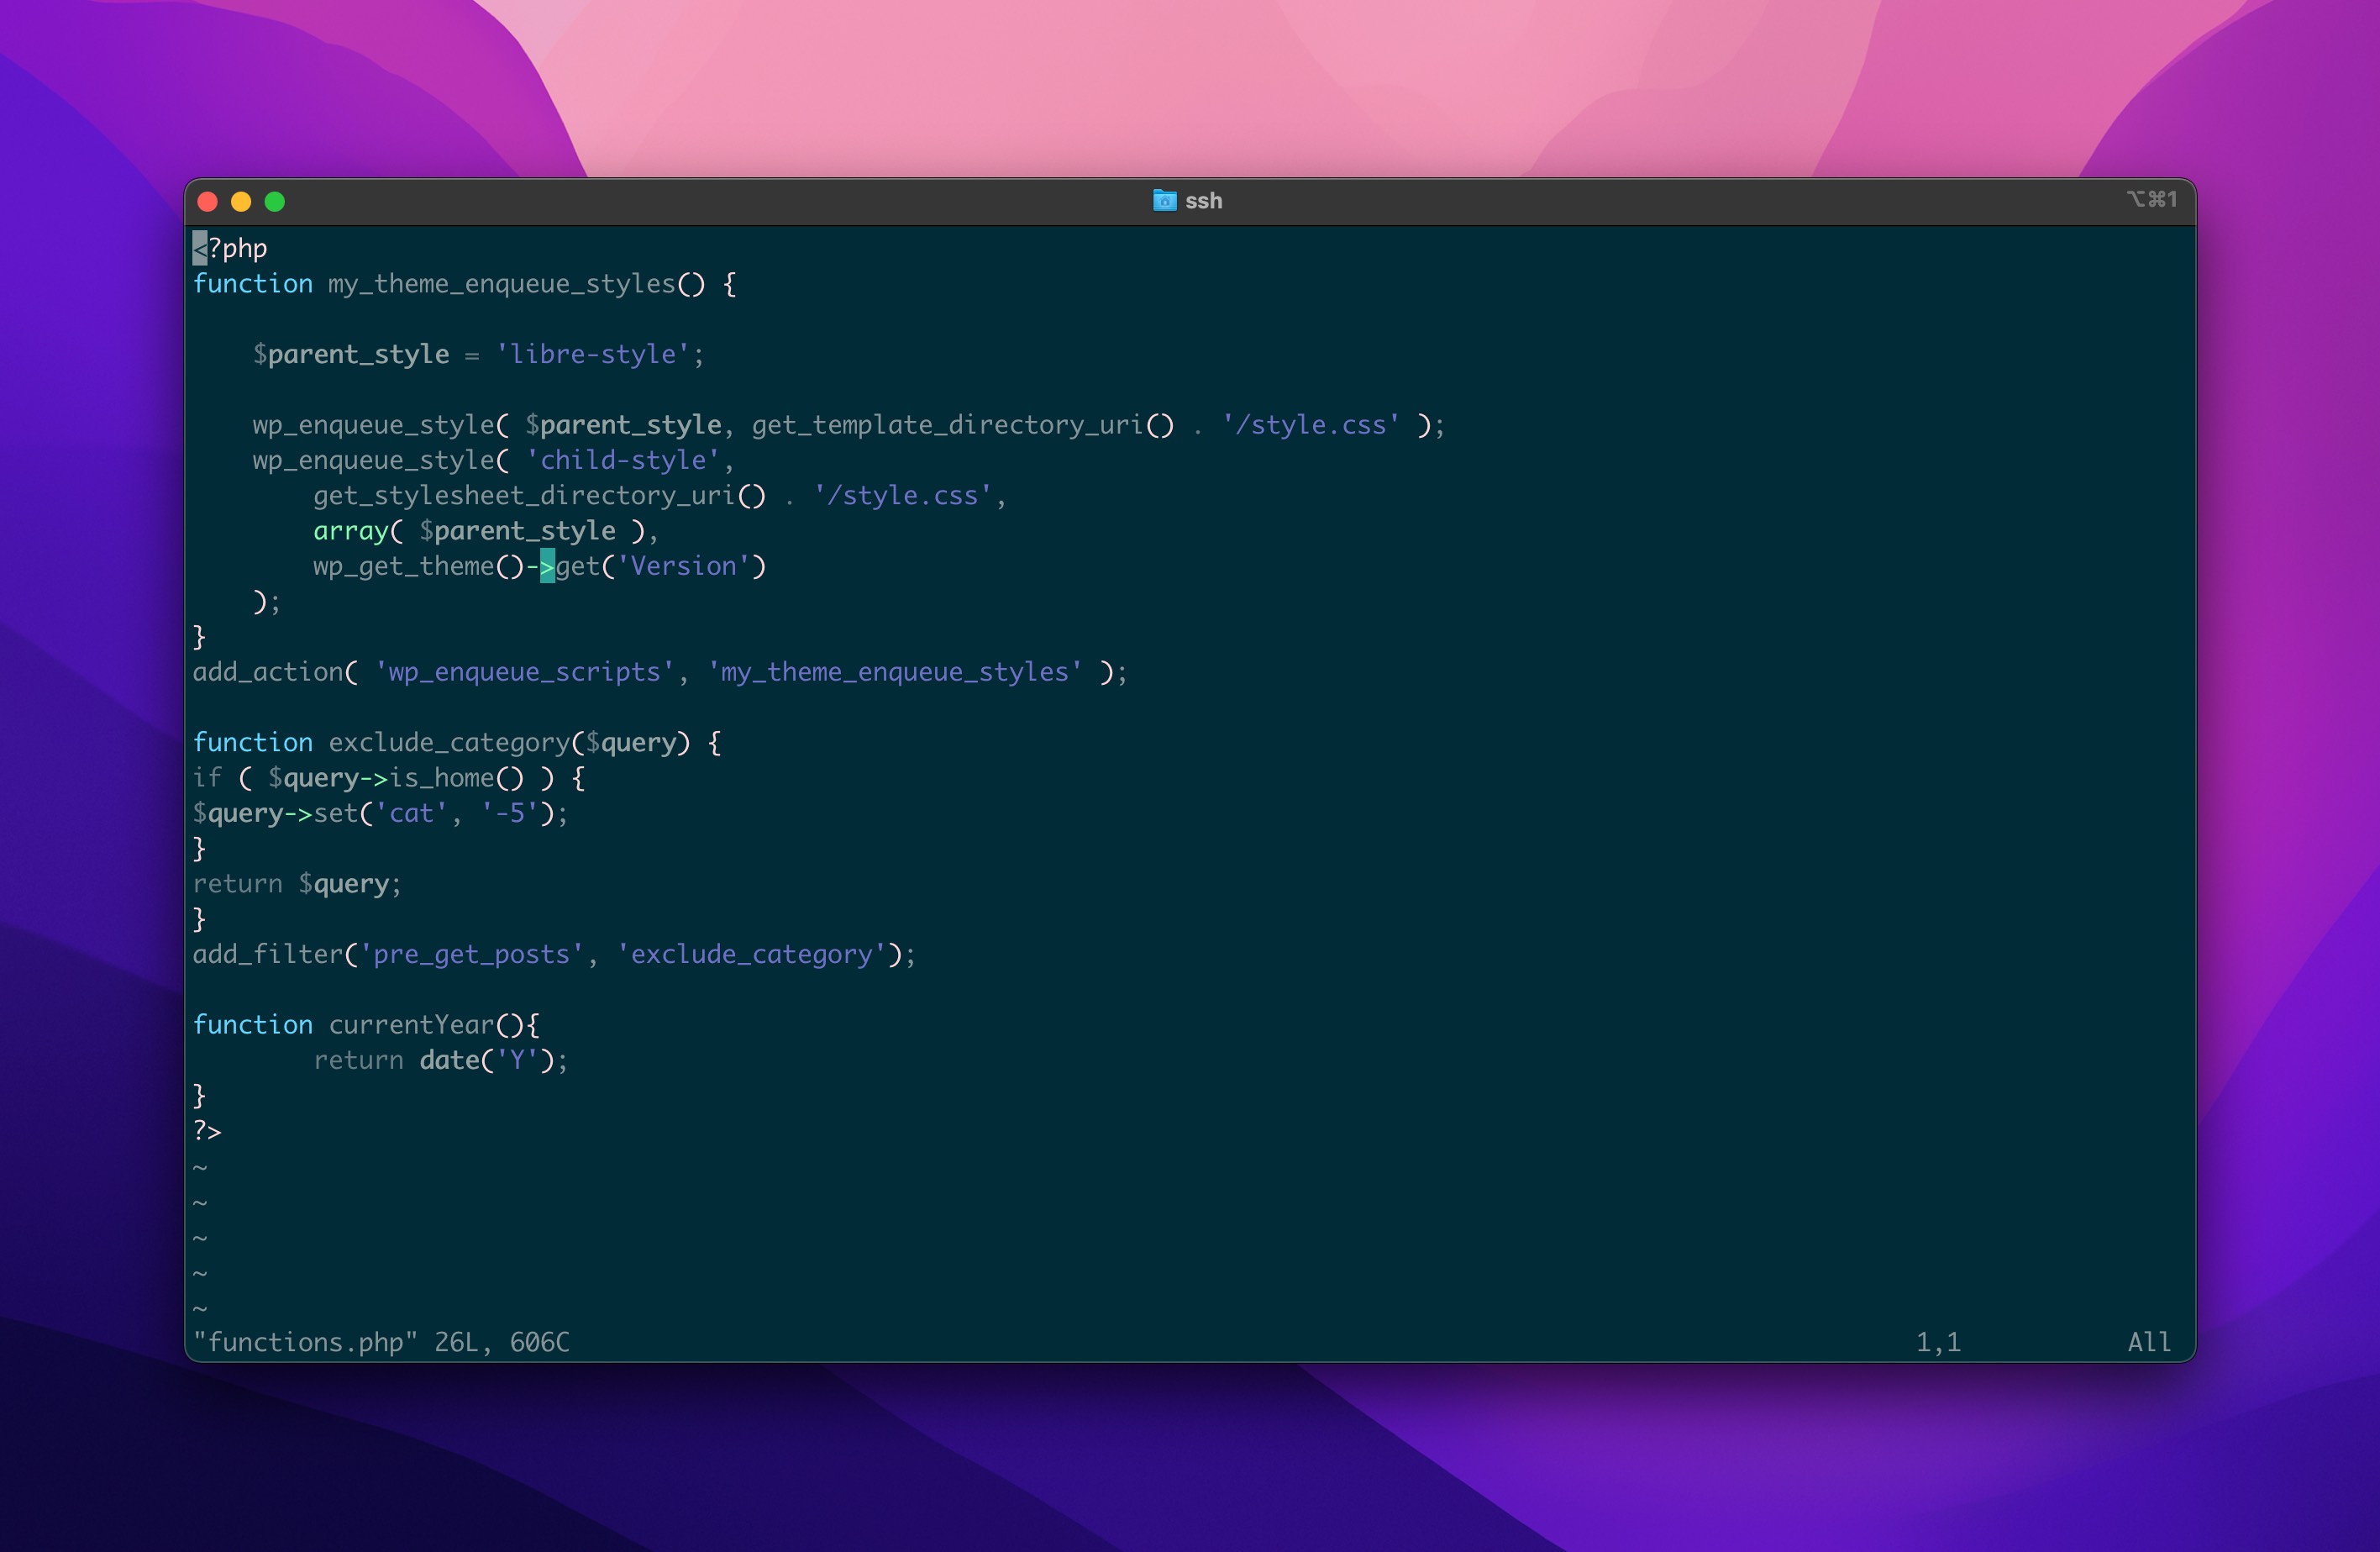
The one major difference between using Nano and Vim is that Vim has syntax highlighting. You can also display line numbers, which is a matter of a simple command :set nu. Vim also takes a bit of getting used to, especially the different modes of insert, normal, and visual.
Using the CLI is much faster than my previous method of using the GUI and dashboards, etc. Not that speed was my main goal, but it is a big plus. At this point, I’m just thrilled with my new CLI skills. I’m going to keep mucking about and see what else I can do.
*some links in this post are affiliate links.
Leave a Reply